


¿Hay algo más satisfactorio en el día de un artista de pestañas que ver a su clienta mimarse frente al espejo mientras admira sus extensiones tan perfectas? No importa si eres una veterana con 20 años en el negocio, siempre hay una sensación de alegría cuando la clienta simplemente no puede dejar de pestañear en señal de admiración.

Una sensación especialmente gratificante es cuando estás trabajando en un fabuloso nuevo juego de abanicos de pestañas de volumen. ¡La pura suntuosidad! Honestamente, cada vez que los vemos "en la naturaleza", nunca dejan de dejarnos sin aliento.
¿Has perfeccionado tu método de abanico de pestañas de volumen? Si no, no temas, porque en esta publicación te daremos algunos consejos para crear increíbles looks de abanicos de pestañas de volumen.
¿Qué hace que un abanico de pestañas de volumen sea perfecto?
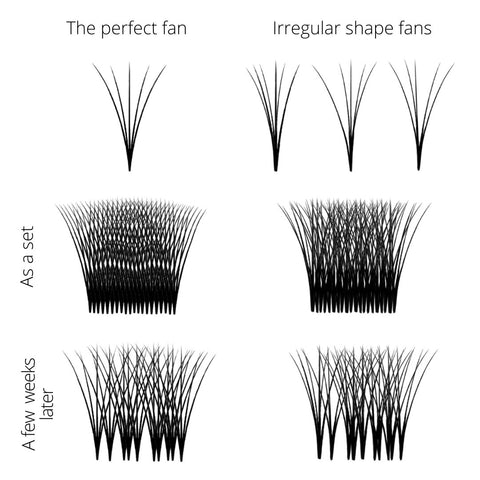
El abanico de pestañas de volumen perfecto debe tener una separación equitativa entre las pestañas individuales, una proporción de ⅓ de tamaño entre el cuerpo y la base del abanico, y un área de 2~3 mm para la aplicación del pegamento, además de ser simétrico.

Los seres humanos amamos ver la perfección a nuestro alrededor, por lo que cualquier cosa que esté un poco desalineada tiende a ser considerada fea. (Puede que no queramos admitirlo sobre nosotros mismos, pero es cierto en muchas cosas.) Es por esta razón que un abanico de pestañas de volumen perfecto debe tener las proporciones exactas. Si no las tiene, entonces, bueno, no puede ser perfecto, ¿verdad?
Incluso después de unas semanas de la aplicación, los abanicos bien extendidos conservan una apariencia general mucho mejor que los abanicos irregulares.
Usar 'abanicos imperfectos' puede ser tentador, pero mira el resultado final aquí. Al usar los abanicos perfectamente elaborados, el aspecto general del conjunto es mucho más ordenado y agradable.
Un abanico a la medida de cada clienta
Así como adaptamos todo lo demás a las necesidades y pestañas naturales de nuestras clientas, también debemos hacer lo mismo al crear abanicos de pestañas de volumen. Cuando se trata de abanicos de volumen, hay diferentes tipos de tamaños y estilos para elegir. Depende de ti y de tu clienta decidir cuál es el mejor.
Abanico ancho vs. abanico estrecho
Si a tu clienta le encanta un look ligero y esponjoso, un abanico ancho es el camino a seguir. Al no ser tan denso como otros tipos de abanicos de volumen, las pestañas parecerán más cortas y menos impactantes. Así que asegúrate de que tu clienta sea consciente de esto antes de empezar. Cuando trabajes con abanicos anchos, asegúrate de no dejar el tallo demasiado corto, ya que esto afectará la retención.
El ancho total del abanico no debe ser superior a 6 mm (¼ de pulgada). Un abanico más ancho tiende a parecer desordenado y a dificultar la aplicación.

Los abanicos estrechos son ideales para un look más uniforme y denso. También crean una línea superior dramáticamente impresionante (¿alguien dijo vibraciones de femme fatale?). Mantén los tallos lo suficientemente largos para evitar que las pestañas se vean desordenadas y no uniformes.
Base fina vs. base plana
Una de las cosas más sorprendentes del volumen de pestañas hecho a mano es su flexibilidad en el estilo. Como artista, puedes elegir qué base es la más adecuada para el look que intentas lograr.

Las pestañas con base fina se pueden adherir en cualquier parte, desde la parte superior de la pestaña natural hasta la inferior, e incluso a los lados. Si buscas un look más pulcro, este es el camino a seguir. No solo eso, un abanico de volumen con base fina puede envolver completamente una pestaña natural, lo que proporciona una gran retención.
Un abanico de base plana, por otro lado, solo se puede colocar encima o debajo de la pestaña natural. Un abanico de volumen de base plana no envolverá la pestaña natural tanto como lo hace el abanico de base fina, pero tiene su propio mérito. El abanico de pestañas de base plana puede crear una impresión más oscura a lo largo de la línea de las pestañas, lo que ayuda a rellenar el hueco si tu clienta tiene pestañas naturales escasas.
Si de alguna manera siempre terminas con un abanico de base plana cuando en realidad intentabas hacer uno de base fina, podría ser que tu pegamento se seque demasiado rápido incluso antes de que empieces a envolver el abanico. Prueba un pegamento que te dé 1-2 segundos extra para completar el efecto que quieres lograr.
Leer más: Pegamento para extensiones de pestañas y humedad: una guía completa
¿Cuáles son los diferentes métodos de volumen que existen?
Técnica de la cinta
Ideal para principiantes, esta técnica te permite mover las pestañas individuales de volumen en la misma cinta o en una cinta diferente. Esencialmente lo que haces es tomar una pestaña de volumen, separarla del resto que están en la cinta y luego abanicar las pestañas. Cuando esto esté hecho, puedes agarrar la pestaña por el centro y tirar hacia arriba y hacia ti para levantar la pestaña.
Técnica de inclinar y recoger
En la técnica de inclinar y recoger, tomas el abanico cerca de la base, asegurándote de que no se cruce. Luego lo colocas en la tira, lo inclinas y abres las pestañas (de ahí el nombre). Este método es bueno para manipular fácilmente cada pestaña individual para que el abanico se abra uniformemente. Úsalo tan a menudo como puedas para familiarizarte con las pestañas y así poder crear pequeños abanicos perfectos.
Técnica de pellizcar
Empieza por coger una pestaña de la tira y sujétala firmemente entre el pulgar y el índice (usa las pinzas para mantener el agarre si lo necesitas). ¡Es muy importante que no enrolles la base accidentalmente! Continúa pellizcando con los dedos, mientras al mismo tiempo usas las pinzas para abrir lentamente el abanico. Una vez que tengas el abanico como lo quieres, sumérgelo en pegamento y aplícalo.
Practicar en casa
Si aún no te sientes lo suficientemente cómoda como para intentar aplicar abanicos de volumen en una clienta querida, prueba primero diferentes tamaños de abanicos y técnicas de abanicado en casa.
Método de la esponja
Una forma fácil de practicar es usando una esponja de maquillaje. Con una esponja, es fácil ver qué tan bien has adherido las pestañas, lo que te ayuda a ser más precisa. Incluso puedes practicar la colocación de tu ángulo. Por supuesto, una esponja no imita bien el ojo, pero sigue siendo una mejor manera de practicar que usar un ser humano real para ello.

Método del maniquí
Si tienes una cabeza de maniquí para practicar en casa, mucho mejor para probar tus técnicas de pestañas. Coloca la cabeza del maniquí en tu cama de pestañas, asegurándote de mantener una buena postura. Luego, comienza a crear tus abanicos de volumen y aplícalos a la cabeza del maniquí como lo harías si fuera una clienta real.
¿Te encantan las pestañas de volumen ruso? Aquí tienes algunos productos imprescindibles para ti.
Las pestañas de volumen ruso son simplemente fabulosas y no tienen comparación. Si eres tan fan de ellas como nosotros, te recomendamos las extensiones de pestañas de visón en tamaños 0.03, 0.05 y 0.07.
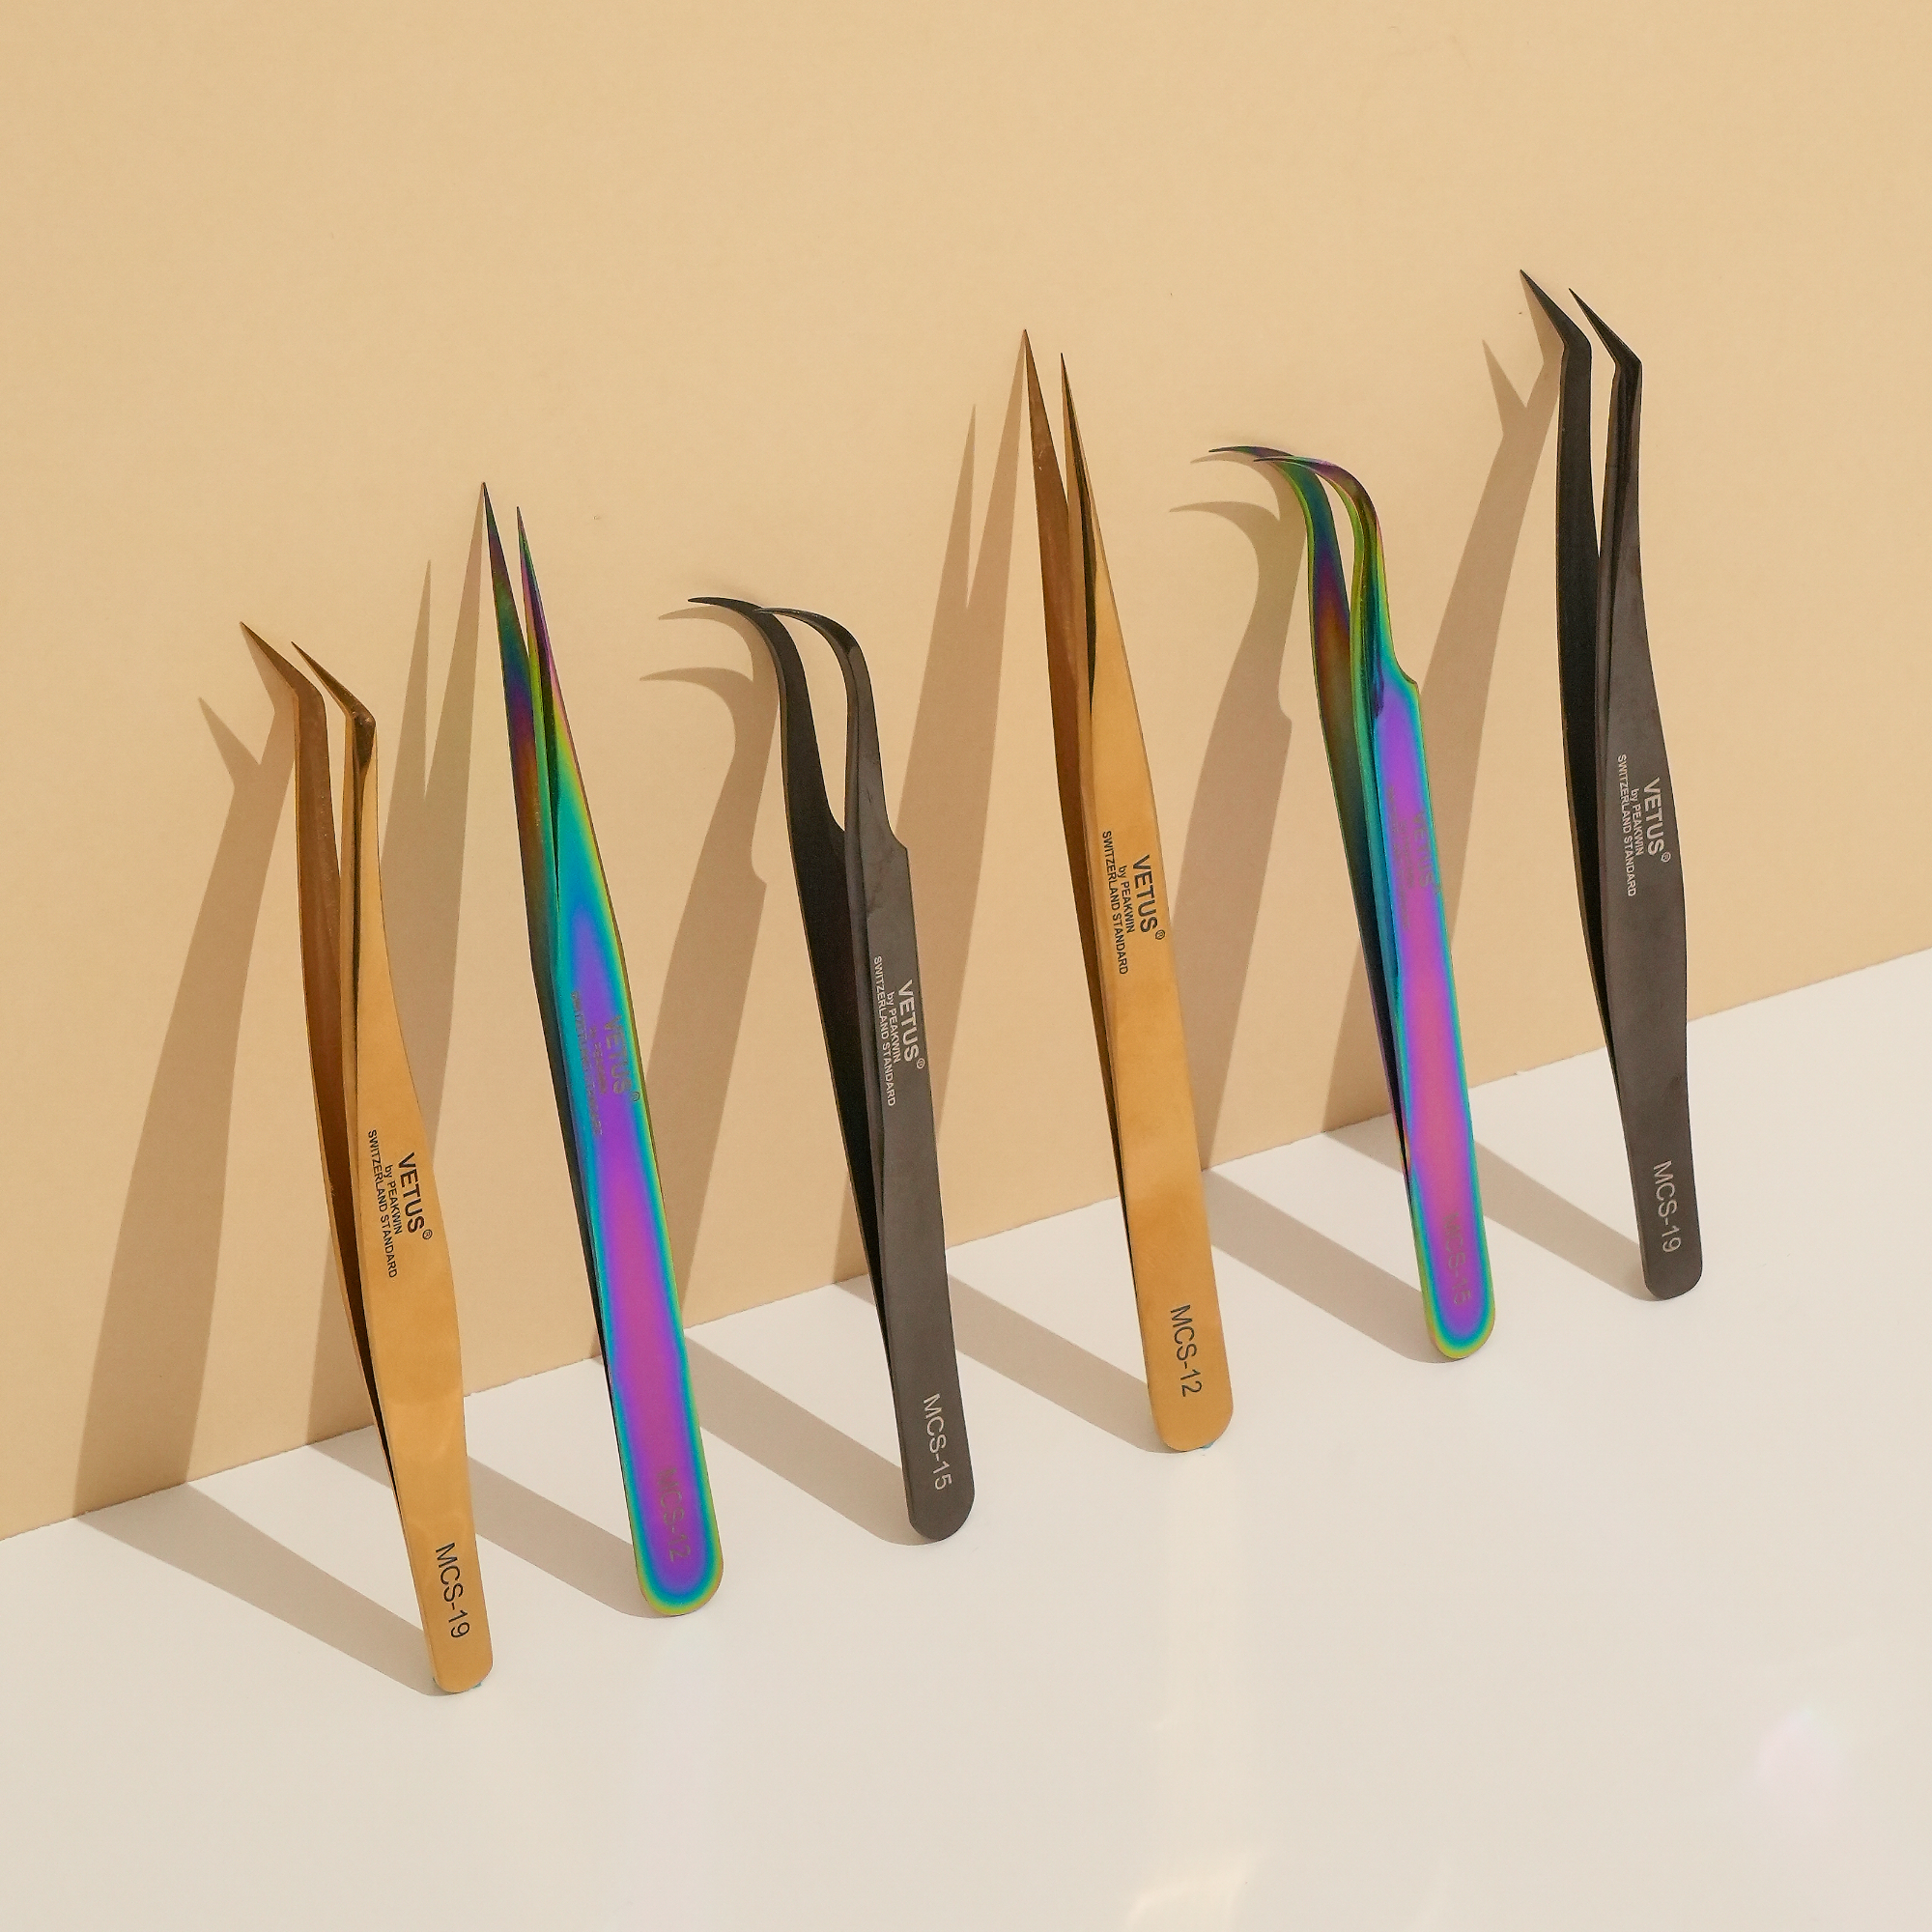
Dependiendo de tu velocidad de aplicación, también recomendamos un pegamento para pestañas fino de secado rápido como el pegamento Mach para las más rápidas entre nosotras, o un pegamento para pestañas viscoso como el pegamento Glam, que tiene un tiempo de secado de 4 a 5 segundos. Y por supuesto, como con cualquier técnica de pestañas, ¡necesitarás unas buenas pinzas para extensiones de pestañas!
Ahora que tienes todo este conocimiento, esperamos que empieces a practicar tus técnicas de abanico de pestañas de volumen tan pronto como leas esta publicación.
¡Feliz aplicación de pestañas!
Este blog está protegido por derechos de autor. La reproducción o reescritura sin permiso está estrictamente prohibida.
Leer más:
Cómo calcular el tamaño y peso de las pestañas de volumen
Cómo elegir abanicos de pestañas prefabricados
Una guía completa: Cómo usar las pestañas de fácil abanicado
Maneras de mejorar tus habilidades de aislamiento en extensiones de pestañas
Extensiones de pestañas inferiores - Tutorial de cómo hacerlo